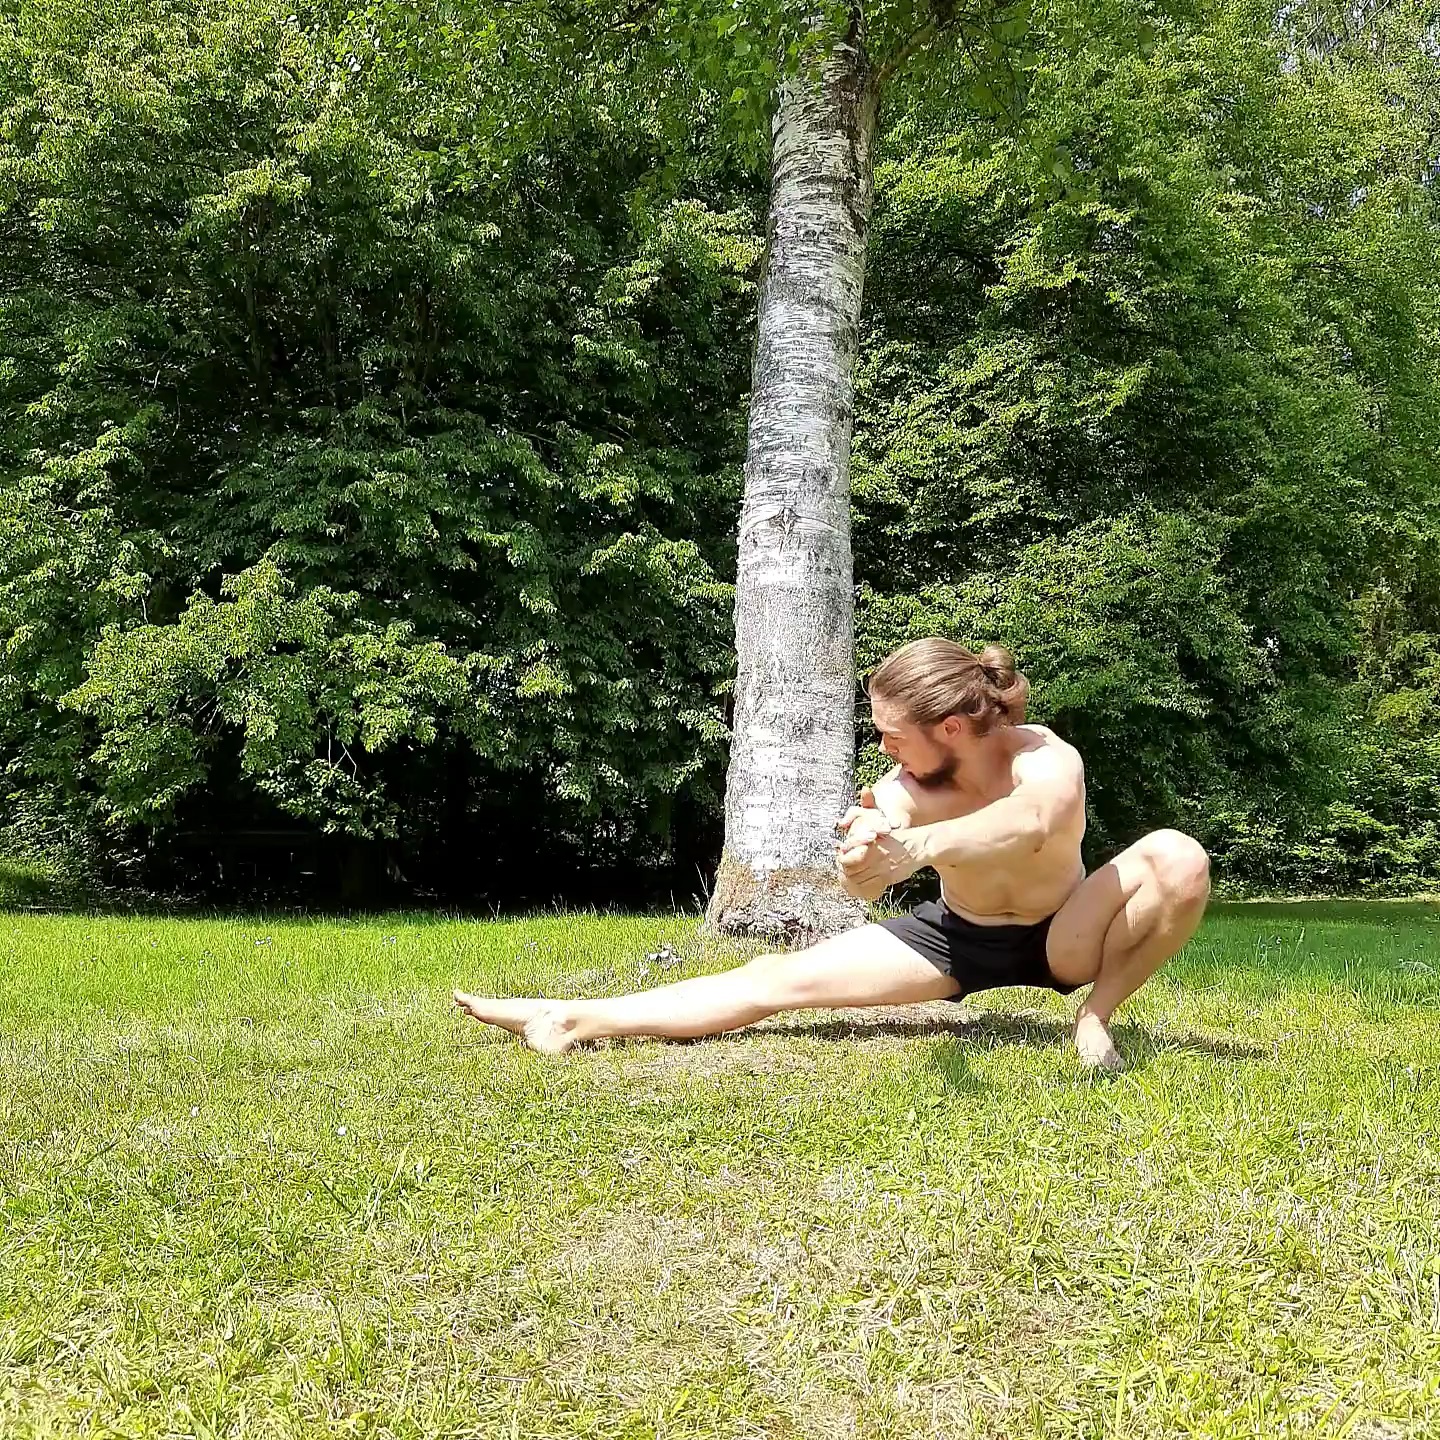
Last but not least, I shall present the third and final part of my beginner’s calisthenics program and what would fit better than a great legs workout, acolytes!
It is functional and should train more than pure brute force.
In the focus are besides pure leg strength – mobility, control, coordination, jumping power, explosive strength, and reactive strength. A lot more than just power!
This kind of athletic training can greatly improve other activities of yours like running or soccer. But even if you are ‘just’ working out it isn’t a bad idea to give your body more input far beyond the capabilities of an ordinary leg press.
You can jump to the other two sessions and both warmups right here:
- –PUSH and PULL
- UPPER and LOWER BODY warmup.
Alternatively, you can sign up for my newsletter, to get besides the newsletter itself the whole program as an easy readable ebook.
- I also would love to hear your feedback! Do you like this calisthenics legs program, did it make your legs tremble, or did it helped you? Tell me!
- You think I suck and should never post any content around the world wide web again? Tell me!
OK enough bragged right now – let’s see what this last session is about in detail!
Calisthenics Beginner Program: LEGS
You can grab the whole list of exercises as a downloadable PDF right here!
Warmup
You can find the lower body warmup over here.
It should take around 15 minutes and you don’t need any equipment. I always like to skip rope* prior to my leg days. Feel free to try that out!
First off, it consists of some cardio to get your heart pumping. After that you prepare your body for oncoming load, get some mobility done, and try to get into your body with some balance work.
Skillwork
- Squats (3-5 sets x 8-12 reps + 30s hold)
- Hinge (3-5 sets x 10-12 reps)
- Cossacks (3-5 sets x 5-8 reps)
Conditioning
- Jefferson Curl (3 sets x5reps)
- Hip Airplane (3 sets x10reps)
- Calf Crusher (3 sets x8reps)
| Warmup | |||
| Skills | Squats (3- 5 sets à 8-12 reps + 30s hold) | Hinge (3-5 sets à 10-12 reps) | Cossacks (3-5 sets à 5-8 reps) |
| Conditioning | Jefferson Curl (3 sets à 5-8 reps x 5s hold on each) | Hip Airplane (3 sets à 5 reps per side) | Calf Crusher (3 Rounds) |
| Cooldown |
Cooldown
This part should take around 10 minutes. Try to breathe calmly and get some feel-good mobility done.
The goal should be to wind down.
- ***-to-Gr*** Squat (1x60s):
Get into a squat as deep as possible. If that’s an issue for you feel free to hold a weight in front of your body or grab a pole.
Be active in this position and explore the movements you are possible to do. - Hip CAR’s (1x8r):
Circle your hips slowly while lying on your side and with control through their entire range of motion aka CARs. - Pike Ballistics (1x10r + 1x30s):
To do them get into a standing pike position. From there reach down to your toes without rounding your lumbar spine – the movement should come mainly from your pelvis tilting forward.
Do this movement for 10r and hold afterward a comfortable position for around 30s. Feel free to be active and move while in the stretch.
Alternatively, you can perform this exercise while sitting on the floor. - Straddle Ballistics (1×10r + 1x30s):
Same as above but in a straddled position. All the guidelines stay the same here. - Breathing (1x60s):
Breathe deep into your stomach
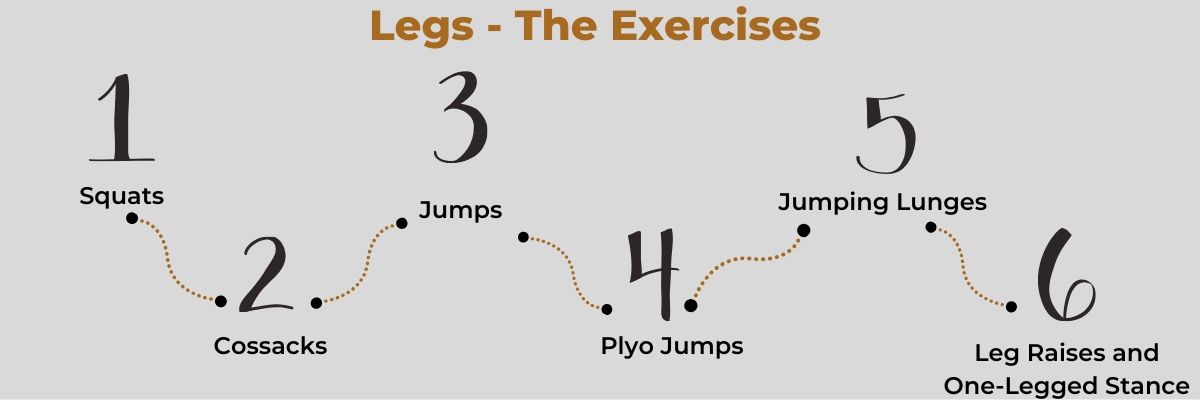
Progressions for this Legs Session
If you’ve never heard of progressions before – you can read everything about them over here.
Upload that knowledge right into your prefrontal cortex, and we are good to go! ?
Test every progression – you should feel which one is appropriate for you. Work yourself up from easiest to the hardest progressions.
The most important takeaway point here is to be brutally true with yourself. Working on a hard progression because your ego compels you to will hinder your progress in the long run.
Squat
- Bodyweight Squat (3-5x 12-15r + 30s hold at the bottom on last rep)
- Single-Leg Box Squat (3-5x 5r + 10s hold at the bottom on last rep)
The basic squat will be hard enough for most because adequate mobility is missing. That’s at least my observance nowadays.
Try to go as deep as possible with good technique. When your technique breaks down the odds are high you are missing mobility.
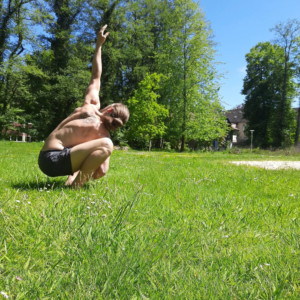
Work on your Mobility and try to regain a solid bodyweight squat. That is the goal here – not repping out 20 air squats without blacking out.
For humans, the squat is considered a basic position. But sitting and modern society took its toll on this statement – nowadays there are many who can’t squat below parallel comfortably.
I needed nearly 2 years to reclaim a solid squat.
You can find my post on how to perform a bodyweight squat over here or on my Instagram.
Squats getting to easy for You?
You already have the mobility needed?
Alright – let’s spice the squat grind up a bit with single-legged variations.
Stay one legged on a box, with one leg hanging down. If you can safely do so without faceplanting down that box – perform a single leg squat.
When performing a single leg squat there are many things to look after. One main thing will be your stability – keeping the leg straight and not letting your knees carve inwards or outwards. The stability you build will also be the hugest benefit and transfer to many other moves.
Start slow. When getting better increase the box height and squat lower – as low as your mobility allows you.
Hinge
- Deadlift (3×8-12r)
- Swings (3x15r)
- Single-Leg Deadlift (3×12-15r)
Besides Squats hinges are one essential pattern of your lower body. It refers to bending at your hips and extending them – like you’d do in a deadlift.
To get comfortable start with a basic deadlift and load it gently. Try to really feel and get the hinge pattern down before going heavy. I found using a broomstick behind your back useful to help people get to this sensation without rounding their lumbar spine, as that is the default compensation happening.
When comfortable with the deadlift, add explosivity with the kettlebell swings. It is an explosive deadlift. You could also play around with single-legged deadlifts as an unilateral variation.
All of those are variations rather than progressions. Load it up heavy, go explosive or work your stability – that’s what those 3 can help you with!
Cossack Squat
- Cossack Squat (3-5x 5-8r)
The Cossack Squat is a side squat variation. Like above – your mobility will most likely be your limit, too. Therefore, just go as low as you can without tearing your adductors. If done correctly the mobility will follow quickly – especially in the beginning.
For most a side squat will be an unknown movement. Take your time learning it and you have a great exercise in your toolbox of exercises building mobility, control, and strength aloof.
Jefferson Curl
- Jefferson Curl (3x 5-8r + 5s hold on each rep at the bottom)
The Jefferson Curl is one of my all-time favourite exercises. It strengthens your spine, gets rid of back pain and can quickly build up serious pike mobility. Plus, it is easy to perform and to load.
Common knowledge would deem this exercise as dangerous. Bending your spine? Not neutral? That must cause issues! Fortunately this is bullshit. You want a strong spine in flexion and extension? Load it and strengthen it like you would every other body part. Easy as that.
Perform this exercise for 5-8 reps and really try to roll up every vertebra at a time. Go slow and don’t think about your overall reps or weight. Start with 10kg* and a few reps and work your way slowly up while getting more comfortable with the pattern. Hold each rep for ~5s at the bottom while trying to pull yourself really into a deep pike position with your hip flexors.
Tom Merrick has a great video on the Jefferson Curl.
Hip Airplane
- Hip Airplane (3x5r per side)
The Hip Airplane is an old circus exercise brought into the world of lifting and fitness by Stuart McGill. The goal of this exercise is to strengthen your hip stabilizers, such as the gluteus medius, and learn to control balancing on one leg while moving the upper body through space.
Sounds complex? It is. But it is worth it! I’d suggest watching this short video to get an image because it is a hard one to explain. Go for ~5 controlled reps. The control part is what this exercise is about – don’t give up if the beginning is tough. You can make the exercise easier by not angling your body that strong.
Calf Crusher
- Straight Calf Raises (20r – 18r- 15r – 10r)
- Lateral Calf Raises (20r – 18r – 15r – 10r)
Calfs are an often neglected part and let’s be honest building calfs is hard because everybody thinks they need a special treatment like abs. But that’s not true they react like every other muscle to an imposed stress. Overload them, skip momentum and they will grow. That’s what we’re going after with this drop set!
Start with one set of basic straight calf raises and perform 20 reps. You can even do them on an elevated surface like a staircase to increase the overall range of motion. It is crucial to go slow and skip every kind of momentum – go for a slow negative, pause for 1s at the bottom and contract forcefully.
After your first 20 straight reps you turn out your feet sideways a lot. Try to go as far as you can. If standing upright gets too challenging hold onto something. Perform 20 reps without a break. Afterwards you perform 18 straight reps, followed by 18 other lateral reps and so on. All without a break.
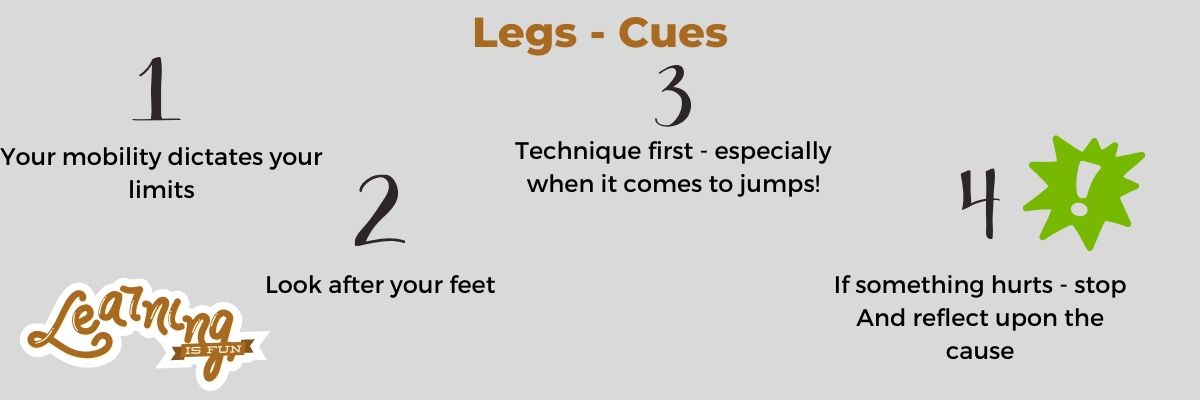
Cues for this Legs Session
Your Mobility dictates your Limits
A big part of this program is to get more mobile and build a foundation of mobility you can well build up from – whatever it is that you want.
- Getting stronger?
- Getting even more mobile?
- Being healthy and a functioning human being?
All that’s possible without huge weight and challenging your legs with calisthenics exercises in a broad vareity of ways.
Look after your Feet
Your feet and shins act like springs. Teaming up with your hips they absorb forces.
Therefore, look after them doing their job properly, especially when jumping. Your knees should be stable and are in one line with your feet and hips. Try to be as quiet as possible when landing.
Technique first!
I bet I’ve written that point 10 points already above but I can’t stress this enough. Always be peculiar with your technique this will save you much work.
Even if you don’t get injured – unlearning wrong technique is much harder than learning it correctly in the first place.
Especially when it comes to the jumps in this program – train below your limits and be mindful of what’s going on.
Watch all the videos I linked to and really understand what every exercise is about. Just wanna avoid you some hard work and unnecessary aches.
Feeling Pain? PAUSE
Feeling pain in your knees, your shins, or your left earlap? Stop first, catch a breath, and have a look at it.
Does the pain get better? Ask yourself where it could come from (Bad technique? Unknown of movements? Too much?) and then go on. Try to avoid that point if you found something. If it doesn’t stop proceed to the next exercise.
There are pains you can and should push through and pains you should at no case push thorough. Pain is a very complex topic and very individual. With experience, you learn to listen to your body telling you where something might be wrong at the given moment.

