You are interested in calisthenics and don’t know where to start? Everywhere you look you just see impressive skills and undoable seeming workouts? Then let me say you – I know exactly how you feel right now.
For me, it was the same nearly 4 years ago. That’s why I created this beginner’s program to give everyone wishing to start everything he really needs. The one thing I did not have but did wish for as I started.
Over the course of this five-part long post series, you will get a complete program.
It consists of three pure calisthenics strength sessions:
The other two posts are warmups one for your UPPER BODY and one for your LOWER BODY.
Alternatively, you can get the whole program as an ebook, if you sign up above for my newsletter as a little thank you.
The ebook includes basically the same as the post series, but has some extra mobility routines within, is naturally organized better and has some ready-to-print templates.
Ok enough said to introduce this beast for now – let’s get right into it!
General Guidelines for the Whole Program
How to use this Program
First off, it is a beginner program. Therefore err on the side of doing to less than doing too much. Doing too much and without proper technique is the main reason for injuries. 1
This program can be used 3 or 5 times a week. I would recommend starting with 3 sessions. If you are comfortable with this frequency and wholeheartedly wanna do more upgrade the volume slowly.
For a beginner 3 times, a week is plenty, especially if working out is an unknown stressor for your body until now.
Each session should take around 60-75 minutes in total depending on your personal rest times. Within this timeframe, you get a complete warmup, your strength work, as well as your cooldown well done.
The Main Goal
Why should you do all of this? What are you training for?
I always hate to do something I don’t understand the reason for. Because I don’t want you to hate me either – let’s get this straight!
The goal of this program is to be a safe and guided entrypoint into the beautiful and vast microcosmos of calisthenics. It should not be too easy, nor too hard. The goldilocks path.

When starting out everything is confusing and as a beginner, you have no set of experience to rely on when making decisions. That makes starting even harder – everything is trial and error.
My goal is to fill that blank. To give easy advice, with a superior goal in mind. So that you can trust me and do the work to eventually see the results.
The desired outcome-moves are calisthenics basics:
- Pushups
- Pullups
- Hollow Bodies
- Squats
- …and first contact points with being on your hands.
From here you can progress well and build some foundational strength to work later on some more advanced skills. If that’s what you want of course!
Quality beats Quantity – every time
Internalize this mindset as fast as possible. It will save you some injuries!
As you notice that your repetitions get sloppy and you can’t get the planned work done, end your set.
One great tip would be to have an elongated break – that can help.
Don’t be the guy trading technique for some crappy reps. While doing biceps curls that can work. But most of calisthenics exercises are more complex!
Therefore, don’t get into this bad habit.
Autoregulation – listen to your Body
All the prewritten sets and reps are rough guidelines.
Unfortunately, I wrote this program without knowing you the slightest.2 And I don’t want you to be trashed every session just because I’ve written down 3 sets of 12 reps.
And that’s what autoregulation is all about – being mindul how you are each particular day.
- It is totally fine to start slow and build up from there. Get comfortable with the calisthenics exercises first – you can push yourself after this is done.
- If you still feel the previous push day in your body or had a horrible workday nor feel a bit motivated to do calisthenics, take it slower, too.
- If you feel unstoppable – go for it and kick ***! Have a great time!
Prerequisites – no Program without them
It is likewise proclaimers and trigger warnings3 …
- First off, you shouldn’t be severely overweight. If this is the case you should work on this beforehand before attempting bodyweight training. Be true to yourself.
- Next, make sure you aren’t injured right now – you’d be better of seeing a health professional
- You shouldn’t have any severe past injuries – if so maybe speak with a physiotherapist beforehand or go at your own risk and wisdom
- Some baseline fitness would be great but isn’t needed
Mindfulness – be there
As previously mentioned – mindfulness is important.
Think of your training as a practice. Be in the present moment and learn something from it.
Set a goal for your practice before each session and analyze afterward how it went. This doesn’t have to be long – but a little thought about improvement or things you did really good that day can go a long way!
Intensity – don’t trash yourself
Try to not work at your limits all too often.
As this is a beginner’s program err on the side of doing not enough.
When starting out it is hard to know where your limits are – so don’t test them out immediately.
First, learn the movements, proper technique and how your body responds to all that stress.
These insights can help you avoid some unnecessary aches and pains.
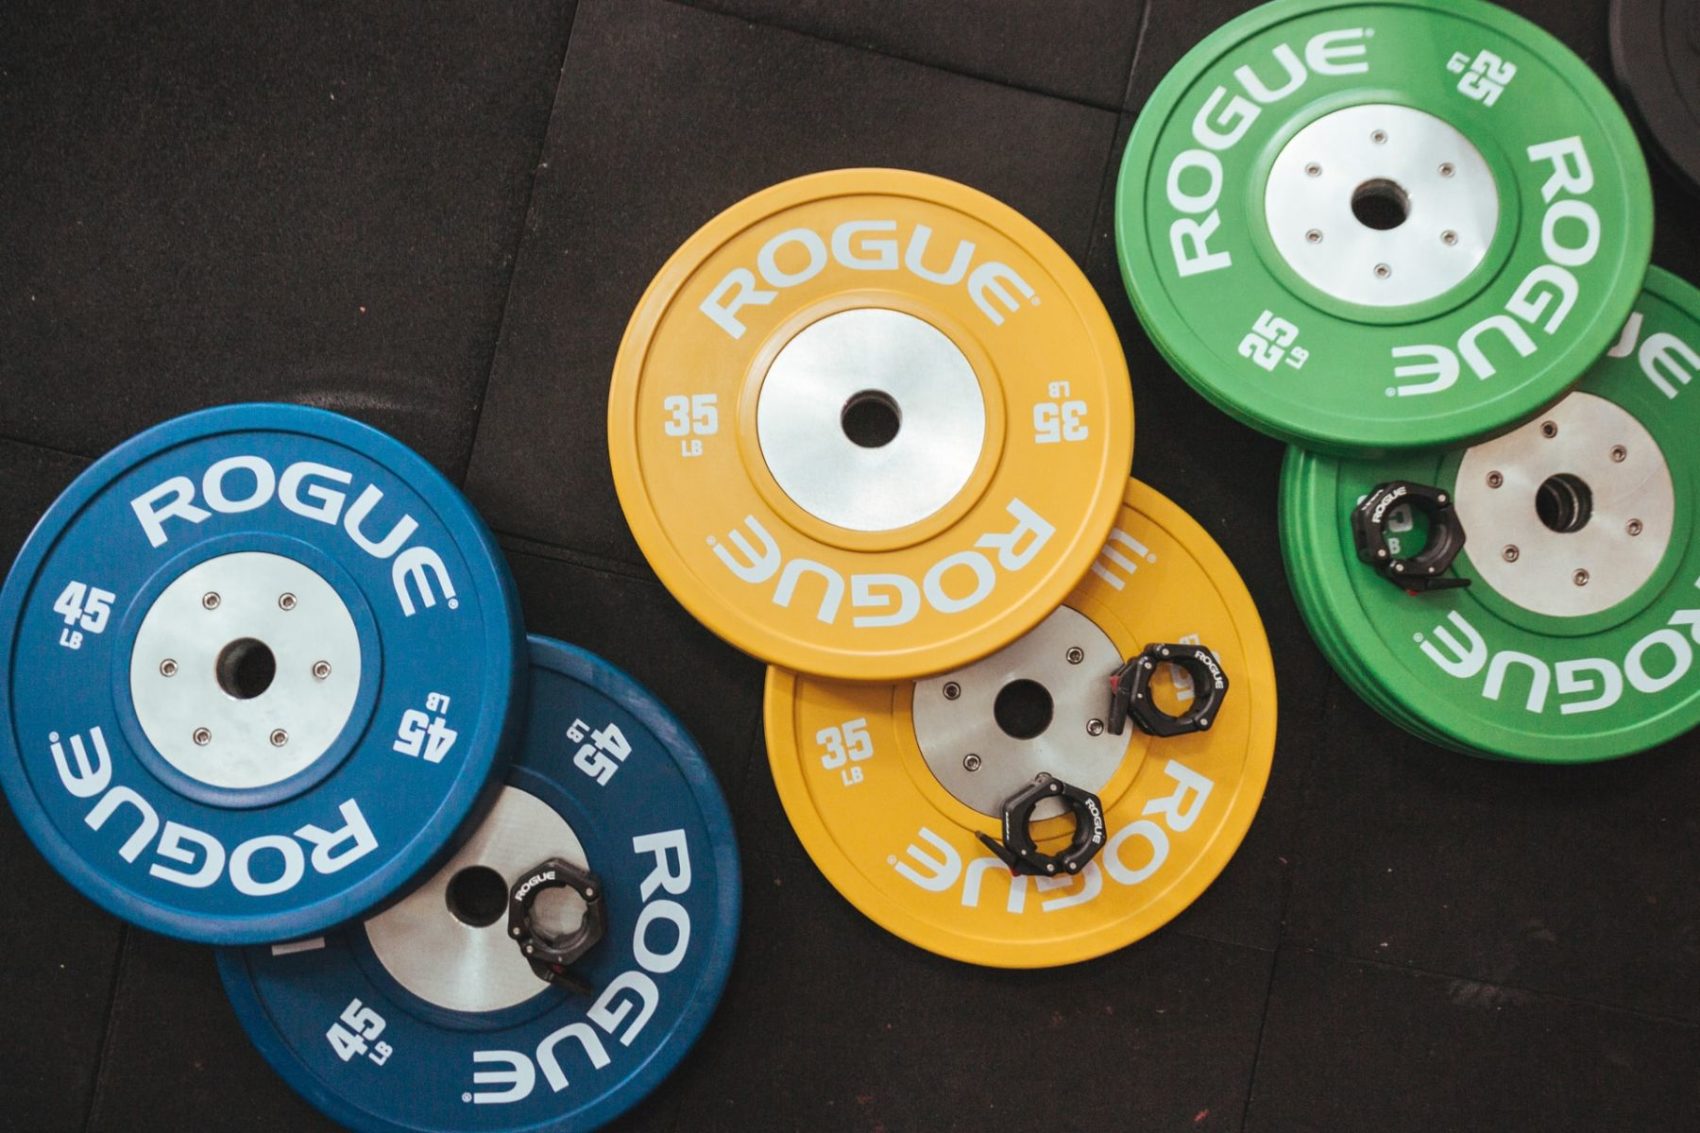
Equipment recommended:
Because this is a beginner’s program you don’t need much. The only must-have is something to pull up to*. That’s it!
- To get that job done I would recommend a pullup bar for at home or gymnastic rings later on.
- If you can train at a gym or your local calisthenics park – you don’t have to worry about all that stuff. Just get there and push your boundaries.
Some great add-ons to that would be a set of different resistance bands or tubes*. They make for a great warmup!
If you look for some other worthy equipment check out the stuff I use regularly in my workouts. I bet you find there something useful, too!

Calisthenics Program – PUSH
Feel free to download the full routine on one sheet over here:
Warmup
You can find the detailed upper body warmup over here! It should take around 15 minutes.
First off, it consists of some cardio to get your heart pumping. After that, you prepare your wrists and shoulders for the oncoming load.
I utilized a resistance band* – because they provide many benefits. Think about getting one. You can find the ones I use on my equipment list.
OK now that we are ready – let’s get into the more challenging part of this calisthenics push session.
Skillwork
Choose the appropriate progression for you. You find the different levels one chapter down below.
- Handbalance (3-5 sets x 20-60s)
- Dips (3-5 sets x 5 reps)
- Pushups (3-5 sets x 5 reps)
Conditioning
Go hard on these exercises and try to really get them down.
- Scapular Pushup to Pike (3×3-5r)
- Top Position (3x30s v 3×10-12rx3s)
- Hollow Body Triplett (3 Rounds)
| Warmup | |||
| Skills | Handbalance | Dips | Pushups |
| 3-5 sets à 20-60s | 3-5 sets à 5 reps | 3-5 sets à 5 reps | |
| Conditioning | Scapular Pushup to Pike | Top Position | Hollow Body Triplett |
| 3 sets à 3-5r | 3 sets à 30s or 10-12r | 3 Rounds | |
| Cooldown |
Cooldown
This part should take around 10 minutes. Try to breathe calmly and get some feel-good mobility done.
The goal should be to wind down.
- Wrists (1x the routine):
Do this routine for 1 round. It is the same routine you did in your warmup. - Shoulder CAR’s (1x8r):
CIrcle your shoulders slowly and with control through their entire range of motion aka CARs. - Cat/Cow Stretch (1x10r):
Yes exactly – this yogi stuff. It is a great feel-good exercise for your spine. - Dead Hang (1×30-60s):
Hang down from a bar and relax. Feel free to move around, twist a bit, or relax and feel elongated by gravity. - Breathing (1x60s):
Breathe deep into your stomach
Progressions for all Push Exercises
If you’ve never heard of progressions before – you can read everything about them over here.
Upload that knowledge right into your prefrontal cortex and we are good to go! 😉
I split up every move into a few different variations. Some more challenging some less. That way you can train exactly on your very own level and have a set goal to work towards:
- Test every progression – you should feel which one is appropriate for you.
- Work yourself up from easiest to hardest progressions.
- The most important takeaway point here is to be brutally truthful with yourself. Working on a hard progression because your ego compels you to will hinder your progress in the long run.
Handbalance

The point here is to get in touch with this very confusing way of using your body.
Learning that takes time and even the simple frog stand is difficult in the beginning. And going upside down takes courage!
That’s why safety first is a prerogative.
Lay a mat or a pillow below your head and make sure there are no TV’s, cats or kids around you. It is no fun to kiss the floor or kick the cat away.
- Frog Stand
This video by SoC explains the frog stand comprehensive.
This skill isn’t that hard, but the way your body has to work is new.
You learn to balance with your hands! - Pike Pushup
The Pike Pushups are demonstrated greatly in this Video by Yuri Marmerstein.
Aim for 3 sets of 5-8 reps. - Wall Handstand
First, you have to learn to bail from a handstand safely.
After this is done you have to learn to kickup to get into a back-to-wall handstand.
I would practice the back to wall as well as the chest-to-wall handstand. - Free Handstand
A long way to go pal!
Dips

- Dips with legs elevated
I am sure everyone and his dog knows this exercise!
The only thing you need is an elevated surface like a bench to get your legs onto. From there you perform a dip.
When your arms start to flare out to the side means that you went to low. You aren’t mobile enough yet. Avoid this and the mobility will come itself!
Check out this guide for much more on dips! - Dips aided by a resistance band
As mentioned 1000 times before resistance bands* are awesome!
They make for great warmups AND can scale exercises back by taking some of your bodyweight out of the equation.
Therefore, put a back around the parallel bars*, step into it and go into a hollow body shape. From there you simply perform regular dips.
As you get stronger choose a lighter band or remove it entirely. - Dips
Pushups

- Incline Pushups
Yeah – elevated pushups. Not much to say to that.
Choose a hight that enables you to perform 5-8 pushups and work yourself down from there. - Pushups
Boring basic pushups.
Because many do even these horribly wrong have a look at my guide on pushups to know how to perform them. - Planche Lean Pushups
Go slow here – these can get hellish really fast.
Start in a basic pushup and lean forward a bit. Perform a pushup then and maintain your lean throughout the entire movement.
Eventually, this exercise stays with you until you can planche…
Scapula Pushup to Pike
- Scapula Pushups
- Scapular Pushups to Pike
Scapula Pushups shouldn’t be challenging for anyone.
What this exercise aims at is proper scapular movement.
Push your shoulder blades throughout their entire range.
The caterpillar is a fun animal move that works even better on basic scapular movement. If possible try not to bend your legs.
Top Position
- Top Position Hold
- Shrugs
- Single-Leg Lifts to Tuck L-Sit
The support hold should look like in this post on my Instagram.
Push at all times actively into the two parallel bars and hold this positon for 30-60s. And as always – hollow body shape!
Hollow Body Triplett
- Single-Leg Lifts (3xr per side)
- Flutters (20r)
- Hollow Body Hold (30s)
A great tutorial on the hollow body is this one by GMB.

The hollow body shape is a base position of calisthenics. While in it all your joints are stacked, you are stable and ready to generate force more efficiently.
For many advanced moves, this shape is a prerogative – like the front lever. Therefore, getting it down really good early on is a good thing to do.
Choose a difficulty you can hold for 30-60s. From there build upon the full hollow body with extended arms and legs.

Some Cues for the Calisthenics Push Session
Wrists first!
Your wrists are your most holy body part.
So care for them and look after them.
Calisthenics uses your wrists all the time for push as well as pulling movements – that can be a new stimulus if you have no background as a gymnast, breaker or carpenter.
That is why you should avoid injuries over there at all costs.
If something feels confusing or aches – stop the set and make a break. Circle your wrists a bit, stretch them lightly and come back. Where does it hurt?
- Do your muscles hurt symmetrically? You might push through that!
- Does your joint hurt on one site? Don’t push through that and stop at once.
- Knowing your pain and develop a deep understanding of it is a long journey. But embrace it it is rewarding!
Nonetheless, my advice, in the beginning, would be – if it doesn’t get better stop entirely, don’t push through it and move on.
I surely get on your Nerves – Stay hollowed!
I can understand if you wanna punch me in the face because I’ve said that and will say it even more often on the course of this whole program.
But my point is – better learned early, then it gets done unconsciously later on.
‘Today is not my Day’ – doesn’t count!
Hold yourself accountable to perform at least the warmup on EVERY training day.
If you still feel like hit by 3 trucks after your warmup – stop it and go home. Or do some cardio. Work on your mobility if you are into that. But donÄt force yourself to something.
While the above case won’t happen that often when training 3 times or even 5 times a week more often the following will happen:
You feel energized by warming up and see that you have power left. Some days you get motivated right now. Others you still don’t wanna do anything. But that’s fine – do it anyway.
If you are feeling half-way fine after a warmup. Do the session!
Footnotes
- And how can you have great technique when starting out? Everyone sucks in the beginning. I even suck at most things now. But that’s what it is partly about. Accepting to suck and building up from there, to not be a totally-sucking-dude and become instead a half-of-the-time-sucking-dude.
- But we can change that – HMU on Instagram and tell me your thoughts! Do you love my stuff? Do I suck big time? Let me know!
- No one would believe me this is real otherwise! It would be like taking a video, loading it to youtube, without adding 100 disclaimers to not try it or that one link of all the thousands you used is an affiliate.