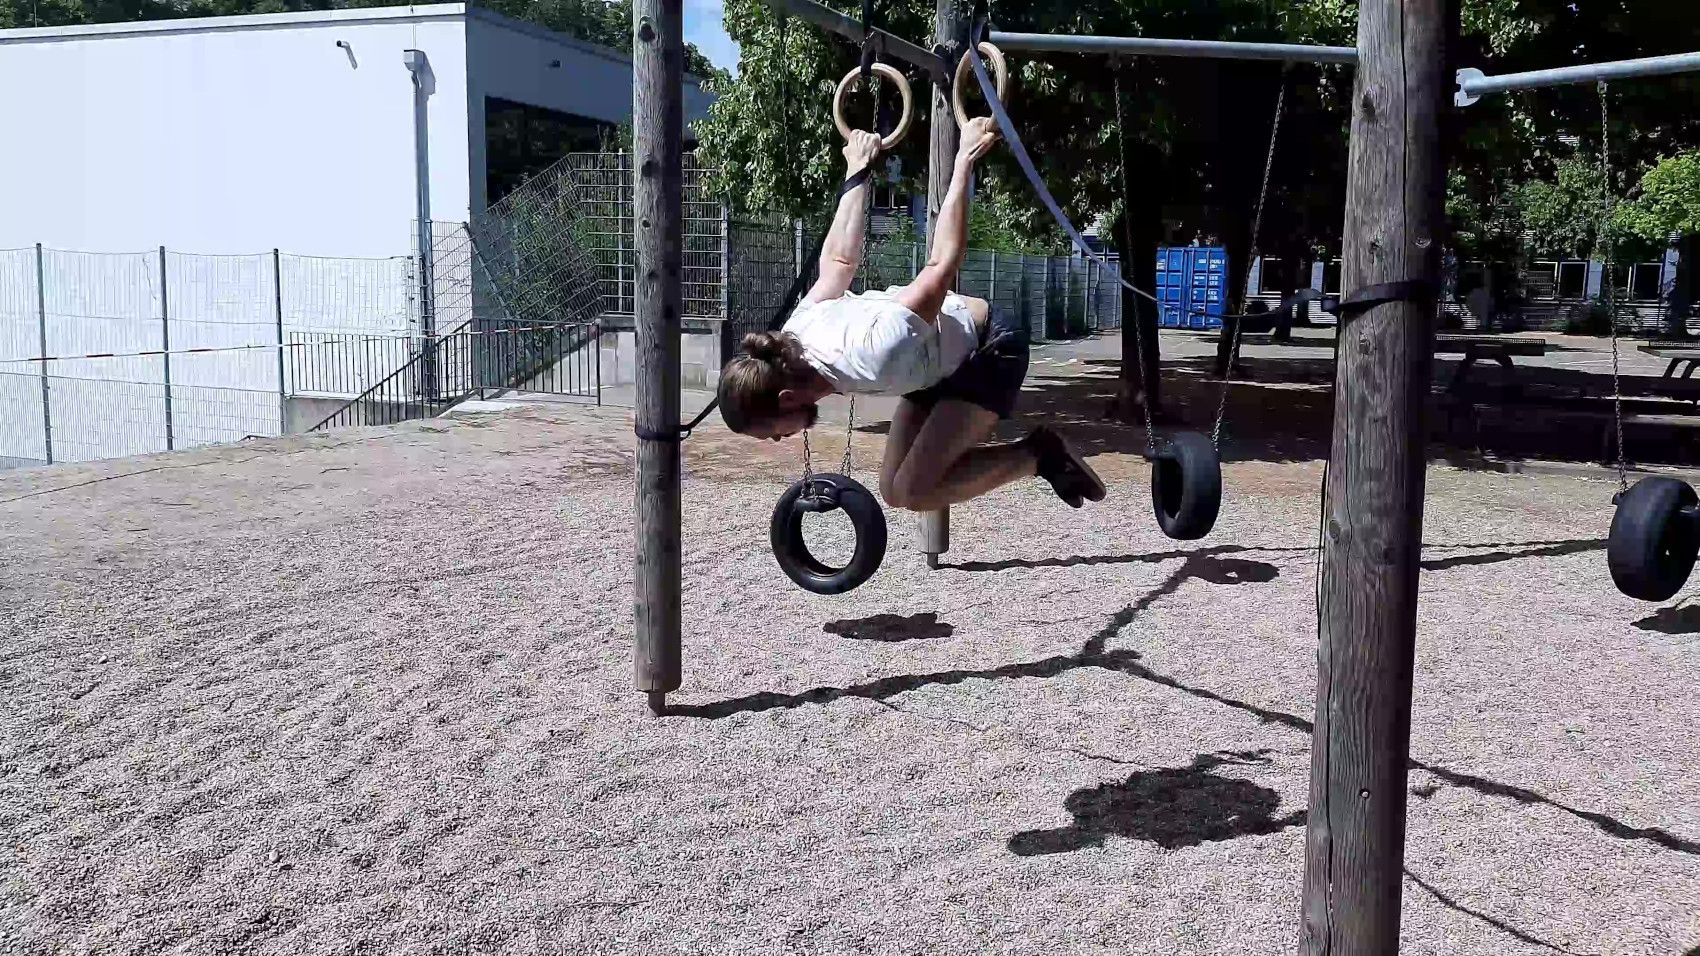
I am really hyped to share the second part of my calisthenics program with you guys! This session is focussed on pull movements.
If you are looking for the other parts you can find them here:
- Check out PUSH here
- LEGS over here,
- and the two warmups, UPPER and LOWER BODY, here.
Alternatively, you can get all of this put together in a comprehensible ebook, plus a few boni, when signing up for my newsletter. I always felt more drawn to pull exercises than pushing ones. What is your experience with that? Are you on more on team pushups or pullups?
OK – now that I advertised my stuff and you have all the links at your disposal let’s get into the session!1
Calisthenics Beginner Program: PULL
You can download the full routine on one sheet over here:
Warmup
You can find the detailed upper body warmup over here! It should take around 15 minutes.
First off, it consists of some cardio to get your heart pumping. After that, you prepare your wrists and shoulders for the oncoming load.
I utilized a resistance band* – because they provide many benefits. Think about getting one. You can find the ones I use on my equipment list.
OK now that we are ready – let’s get into the more challenging part of this calisthenics pull session.
Skillwork
Choose the appropriate progression for you. You find the different levels one chapter down below.
- Pullups (3-5 sets x 5 reps)
- Chinups (3-5 sets x 5 reps)
- Rows (3-5 sets x 8-12 reps)
Conditioning
Go hard on these exercises and try to really get them down.
- Hang (3 sets)
- Facepull to Overhead Press (3 sets x 8 reps)
- Arch Triplett (3 Rounds)
| Warmup | |||
| Skills | Pullups (3- 5 sets à 5 reps) | Chinups (3-5 sets à 5 reps) | Rows (3-5 sets à 8-12 reps) |
| Conditioning | Hang (3 sets à 30s) | Facepulls to Overhead Press (3 sets à 8 reps) | Arch Triplett (3 Rounds) |
| Cooldown |
Cooldown
This part should take around 10 minutes. Try to breathe calmly and get some feel-good mobility done.
The goal should be to wind down.
- Wrists (1x the routine):
Do this routine for 1 round. It is the same routine you did in your warmup. - Shoulder CAR’s (1x8r):
Circle your shoulders slowly and with control through their entire range of motion aka CARs. - Cat/Cow Stretch (1x10r):
Yes exactly – this yogi stuff. It is a great feel-good exercise for your spine. - Cobra Pose (1×30-60s):
It is this pose right here. I bet you’ve encountered it beforehand, too. This is also a really awesome movement. - Breathing (1x60s):
Breathe deep into your stomach

Progressions for all Pull Exercises
If you’ve never heard of progressions before – you can read everything about them over here.
Upload that knowledge right into your prefrontal cortex, and we are good to go! ?
Test every progression – you should feel which one is appropriate for you. Work yourself up from easiest to the hardest progressions.
The most important takeaway point here is to be brutally honest with yourself. Working on a hard progression because your ego compels you to will hinder your progress in the long run.
Pullups

- Resistance band Pullups
- Negative Pullups
- Pullups
In the beginning, use a fairly thick band*. This will let you focus on proper technique.
When feeling secure and stronger reduce the band thickness.
If you are training in a gym owning a pullup machine you can use it, too. I learned my first pullup aided by it.
It takes likewise bands a set number of your bodyweight out of the pullup equiation.
Later on, negatives are a great exercise to bridge the gap between banded pullups and full ones.
Therefore, jump up into the top position and lower as slowly down as possible trying to resist gravity.
Have a look at my pullup guide, to further learn about this exercise.
Chinups
- Resistance Band Chinups
- Negative Chinups
- Chinups
Chinups are pullups twin brothers – they are the same in many points. What separates them from another is the different position of your hands.
Because of the different grip, your biceps does more of the work. That is why most people will find chinups easier than pullups.
Nonetheless, both exercises greatly complement each other and build brute pulling strength. Start with banded reps*, utilize negatives afterward, or combined with them, and soon you will find yourself repping out full chinups! 😉
Rows
- Rows (Bar/Rings/TRX)
- One-Arm Rows
I bet everyone seen this one before.
To perform them use a low bar or parallel bars. The more inclined your upper body is the easier the exercise will be and vice versa. Go slow and really feel your midback working hard!
If you’ve got access to TRX bands or gymnastic rings you can also use them instead.
The benefit of them is that you can externally rotate your shoulders while pulling. This way you get more out of the same exercise just by using rings! Win-win.
Have a look at this video by Tom Merrick for more information.
Hang
- Hang (3x30s)
- Scapular Shrugs (3x12r with holding each rep for 3s)
- Scapular Circles (3x6r in each direction)
Although this exercise seems fairly easy, the exact execution can be tricky. At first, scapular movements are hard to control for many people, but sooner or later this will get second nature.

The goal of this movement is to control and strengthen the movement of scapular elevation and depression – for you to get a feeling for this important one. 2 Besides building control, hangs is also a great way to build some serious gripping strength.
After getting the basic hang down, you can play around with a shrugging motion actively pulling your shoulder blades up and down holding each rep for 3s at the bottom.
When confident with the shrugs, circling your shoulder blades slowly can further challenge your control while building more strength in your forearms and the tiny muscles at your back.
Facepull to Overhead Press
The Facepull is a great exercise strengthening external rotation at the shoulder joint and many small stabilizing muscles surrounding your shoulder blades which often get overlooked. You can see how it is done by the one and only Jeff Cavaliere.
But what is even better than a traditional facepull? Adding an externally rotated overhead press! Make sure to actively pull both of your elbows backwards and keep them facing only slightly forwards while pressing your arms overhead with the band* trying to pull you forwards.
Arch Triplett
- Top Raises (3x8r)
- Bottom Lifts (3x8r)
- Arch Hold (3x30s)
This is the hollow body’s counterpart if you will. It trains your posterior chain and helped me a lot to solve back pain. Plus it strengthens the often overlooked and doomed movement pattern of global extension aka rounding your spine:
- To perform one rep lie flat onto your belly.
- Now start with squeezing your glutes and pull your legs as well as your upper body upwards.
- To make this exercise harder extend your arms overhead.
- This video by Breazeal Gymnastic shows how they are done properly.
We start our circuit with top raises. While in an arch position try to lift up your upper body with the arms either facing sideways or forwards for increased difficulty. Try to lift your upper body using your thoracic spine and traps rather than bending at the lower back.
Next in line are leg lifts, the exact opposite. We want to lift our legs from the floor using our glutes, hamstrings and lower back muscles. I like to lie on my extended arms and put them under my pelvis, this makes the lifting motion a bit more efficient. Lift up your legs either straight or while bending them and really squeeze each rep.
Last comes a basic arch body hold for ~30s. Choose the progressions that fits you – remember that straightened arms make it harder and straight legs, too.

Cues for this Pull Session
Hollow Body all Day, every Day!
Likewise, the previous session…
Stay in this position if possible. Try to stay stable and get it down early.
I promise you in the leg’s session to not use the word hollow body even once! 😉
Grip the Whole Bar
Grip it entirely.
Don’t use the gorilla grip (without your thumb) or such stupid things.
The bar should be on your first row of knuckles. Watch out to not let it slip onto your first digital joint – this can lead to overuse injuries quickly.3
Muscle Feeling is important
Many of us don’t know how to properly use the muscles in your midback. Me included when starting out 😀
While in the beginning this process might seem unending I am sure you will get it down quickly! Learning how all of these small muscles work is the first step towards many advanced moves.

Footnotes
- In what insane world would be people offering free stuff without advertising some *** beforehand?
- Scapular elevation to depression.
- That way most of the work of keeping your fist is done by the small finger muscles and not the stronger forearm muscles. Do this often enough and the small finger tendons will hurt.


