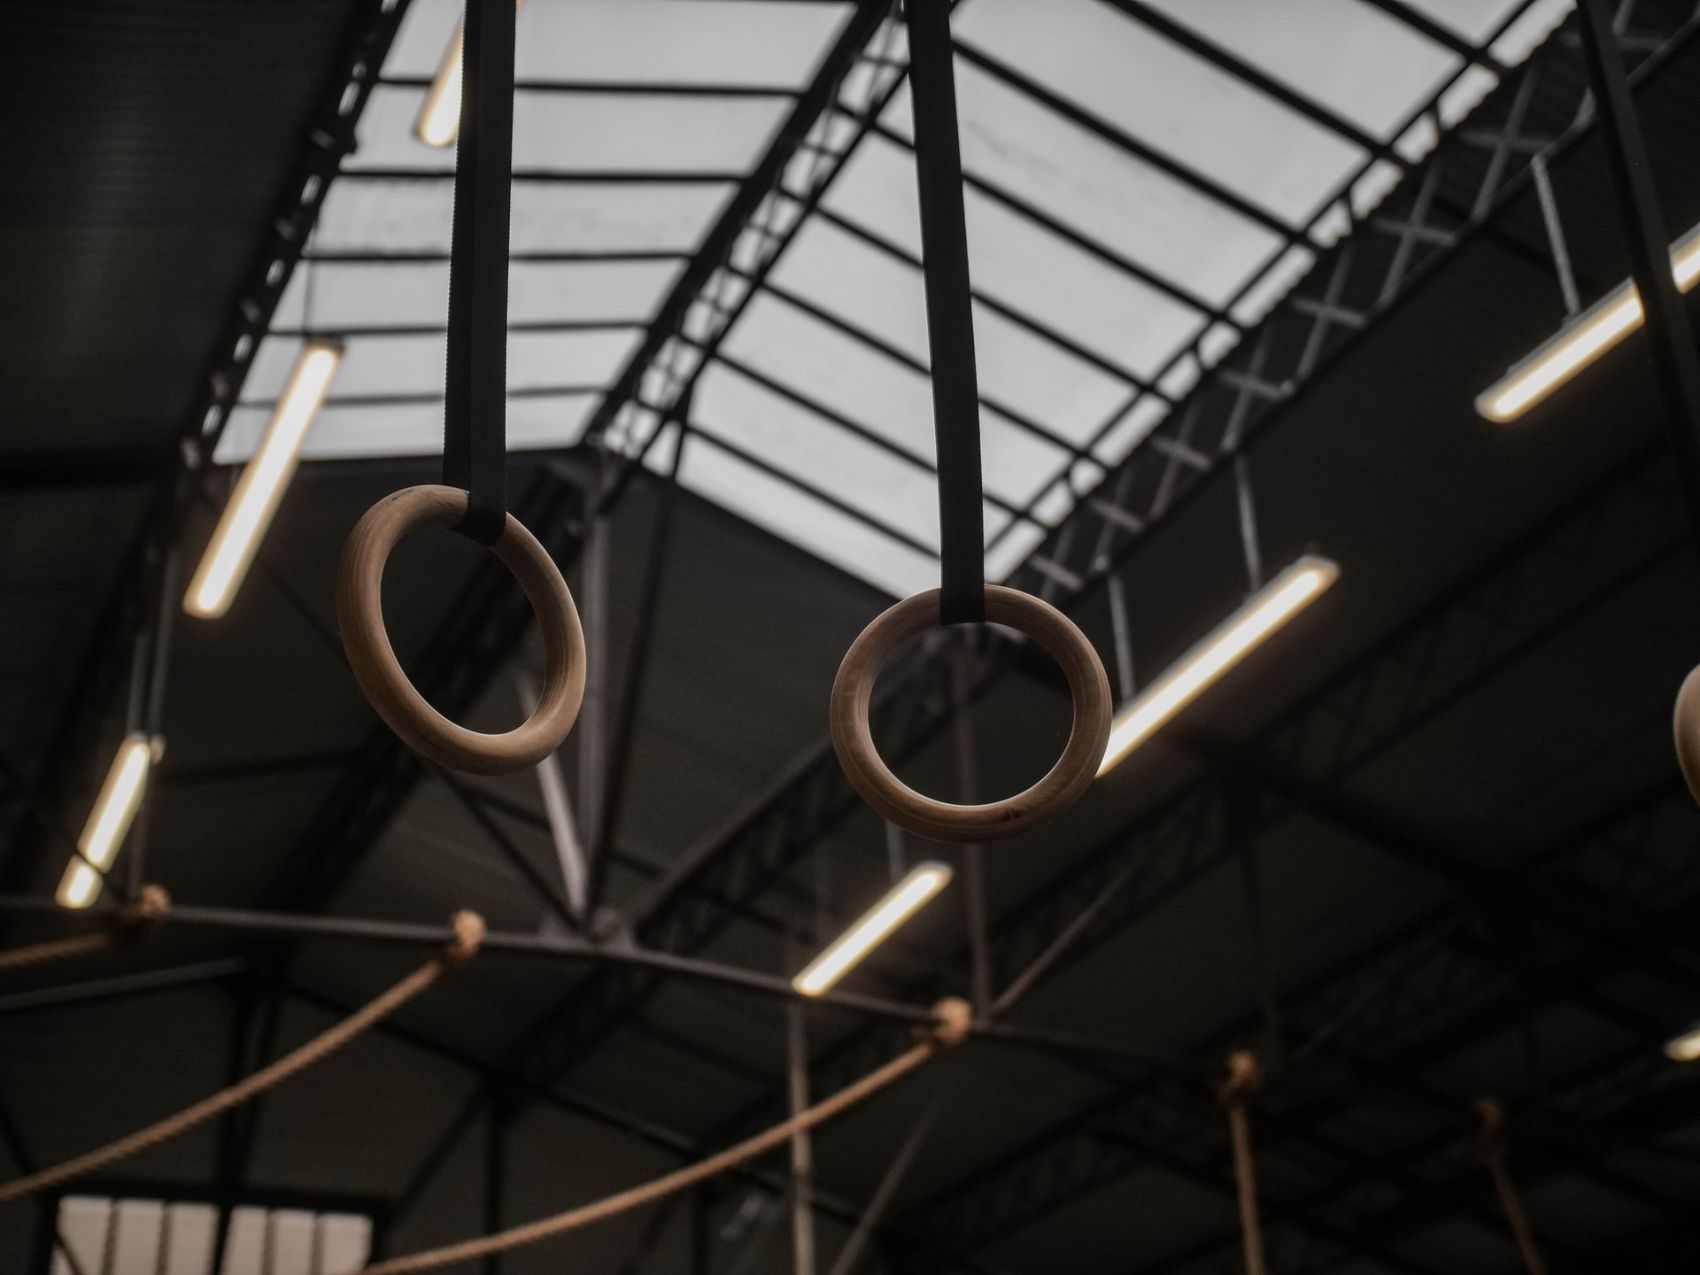
Did you ever try out the training with Gymnastic Rings*? And I mean – not in school. Recently and chosen free willingly – not forced by your ancient sports teacher.
The odds are high that you answered that question with a clear ‘nope‘. Many are afraid of the seeming complexity of that tool. But I think that’s a bit exaggerated. All you need to start is a baseline of strength and you should be healthy. That’s it. Everybody can start somewhere.
I stumbled upon these two wooden beauties two years ago and fell in love immediately. They add some before unknown complexity to your little world of training, like no other tool. Plus, they’re very versatile – full-body workout at the beach anyone?
So – let my fascination get over to you and up your calisthenics game! Let’s see how to best start training on the gymnastic rings, what errors to avoid and what you can expect from them.
What are the Benefits of Gymnastic Rings for my Workout?
I bet you’ve watched the Olympics at some time – or just stopped there while switching through the programs while looking for something worth your time. Every one of them excels at their specific discipline, some are beasts on the beam if we look at rhythmic gymnastics, while others master the high bar or rings. What all of them have in common is a mastery of their craft and insanely fit bodies. Of course, they train a lot from early on where they are at, but also the apparatus play into it.
Rings are one highly effective tool they use, others I could name from the top of my head is the pommel horse, or bars.
- The question arises why are rings so beneficial?
- What makes them special?
- And are they useful for recreational athletes not looking to dive into the world of gymnastics?
Gymnastic Rings are uniquely different
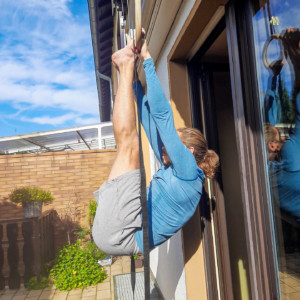
At first glimpse, they look very much like a high bar. At a second more sophisticated, they are much different:
- The biggest point is their inherent instability, especially if you are on top of them, but one also notices it in hanging position.
- Rings provide a lot more freedom of movement as both rings move independently and are not fixed like bars to a position, rather solely to an anchor point above.
- For recreational athletes, they are a unique stimulus that one can add to his training.
All of these points make rings different and for most feel tougher. Especially learning to deal with the instability, on an unconscious level, at first, takes some time to master. You do not want to waste excessive energy stabilizing yourself and pushing like a maniac into the two rings, yet if you push too little you will not stay on top of the rings for long. Fortunately, our body is immensely great at adapting – it is an adaption machine. Likewise standing on your feet, stabilizing reactively from the shoulders will become unconscious if you put in the hours to start with.
A very great benefit, I personally experienced, is that the gynmastic rings* instability challenges your shoulder very uniquely and greatly helped with my shoulder health. They call it reactive stabilizing, done by your shoulder rotators in compound with the smaller pushing muscles. These take a real beating when first starting out with the rings and will therefore experience gains in strength, function, and size.
More range of motion at hand on the otherwise comes with its own compelling benefits. Being able to control a greater range of motion equals getting stronger and is part of the definition of progress within strength training. It is the same principle one applies when using pushups from high parallettes* to expand the working range. In regard to flexibility, greater range can also help – we see this in exercises like deep dips challenging shoulder extension and internal rotation, or Skin the Cats (or even dislocates) into the German Hang. These are all examples of frontal plane movement, but you could also add typewriter dips, mantle Chinups, or if you feel beastly iron cross presses to challenge the sagittal plane of movement. I let these stand as a few examples of added complexity that comes with greater ranges of motion1.
Gymnastic Rings are easy to handle
Another important benefit is their easy handling – unlike maybe a dream machine, or squat rack, they are easy to transport, are far from costing a fortune, do not take up much space, and can be used insides or outsides.
Regarding the mounting, you solely need a bar, branch, or ceiling anchor. That said you can take your rings with you to your gym, train at your homegym if you mount two rotating ceiling anchors, or outside at the park when it’s sunny by just throwing them over a high bar.
Qualitatively, I recommend wooden rings, as plastic ones do not feel good and become slippery real fast. Wooden rings do not get slippery that quick, but indeed if you are working skills involving false grips a bottle of liquid chalk, or a rock climber’s chalk bag will still be your best friend. I personally like the rings by Pullup & Dip*, as they are made from wood, come with a measurement line imprinted on the straps for easy setup, and do so for a fair price, delivered around the globe from enthusiastic athletes themselves. You can check out their gear here and grab a 10% discount using ‘JUEHLKE10’.
As briefly noticed aside, rings are also nothing to be humbled by. While probably no one of this reading will excel to an Olympic gymnast’s level2 anymore, they are fairly easy to get started with for any recreational athlete in a generally healthy condition3. The goal at the beginning will be in understanding and strengthen the basic positions, as we will talk about next!

How do I start training with Gymnastic Rings?
Buy gymnastic rings and go!
No, seriously: You will only learn and experience the benefits of gymnastic rings through working with them.
The rough outline of your journey will involve a lot of work, hammering at the fundamental positions that I would define as:
- The Top Position on rings, both in a neutral and externally rotated position
- The Hang from rings, as well as the false grip4
- Applying the technique of the fundamental positions of Calisthenics to the new apparatus
Get the Basics down
The biggest issue, in the beginning, will be the top position. A hang is fairly similar to the same on bars, the only difference felt is the separation of the arms hanging each from a freely-moveable part. The biggest issue at first will be the top position. Everything shakes, and somehow you have to stay on top. This is a true challenge to overcome.
But no worries, you will get there if you grant your body the time it needs to rewire itself to the unstable surface you are now balancing on.
Fortunately, rings are at the same time immense fun to pick up, as with most novel things that enter the often very rigid world of exercise in the quest for the achievement of long-hold ambitions. That said, it makes total sense to program sets, times or whatever you want to measure your training against for your session to avoid doing too much. It is the same issue when learning handstands, it is fun and one wants to chase these few seconds of balance. But as with every new action, the chances to do something stupid are frequently the highest as a beginner
Your goal at the beginning should be to ensure a baseline of strength, measured in reps or time, as well as the right technique. With technique, I not only mean the looks if you film yourself but also how the exercise feels – the process of introversion.
The Top Position
As we concluded, foremost on your list when picking up the rings should stay a stable top position. The top position is your default position above the rings.
At first, solely holding the top position requires some work and time, but especially the strict top position with the rings turned out builds strong and healthy shoulders. Eventually, it will become pretty simple, even to hold for prolonged times:
- First, start working on holding the top position for 3 sets of 10s first in a neutral position without a large amount of wobbles occuring.
- …expand the time and aim for 3 sets of 30s.
- Second, we add dynamic movement in the form of ring turnouts for 3 sets of 8-12 repetitions, holding the turnout on each pulse for ~3s.
- Lastly, aim for the ring-turn out support hold and build up to a hold time of ~30s.
By following this schedule, you should get towards a ring-turned support hold over the course of a not-too-long time. I would train on the rings 2-3 times a week to sufficiently provide the right inputs to your nervous system.
Some would even advise going for 60s of an RTO support hold, but I think it is the same issue as showing around recommendations of 1min handstands or 2 min handstands before tougher skills. It always depends on your goals – and while I think a 30s support hold is crucial because it enables you to stay on top of the rings for a sufficient time to perform let’s say a number of dips over 5 or more reps. A 60s might not be needed to get into this workout range.
The False Grip
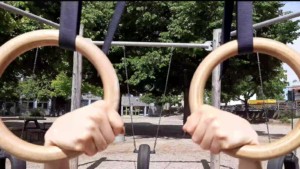
Mastering the hang on rings will come quite easy, what adds a new challenge is the False Grip. It is a crucial position of your rings for Muscle Ups, strict as well as kipped, and many other transitional movements that aim to get you from below the rings, above them. A very strong false grip will also come in handy if you ever look towards straight-arm skills such as a front lever, back lever, or cross on rings as the bent wrists decrease the lever length of your arms by a few centimetres, and therefore the strength demands placed upon your shoulders.
In a false grip, the ring rests on the inner part of your wrists, with your wrists in a flexed position. This can be tough on the skin, the wrists, and especially your forearm’s flexors as they need to isometrically sustain this position over the time of the entire set. This will place a novel and prolonged demand on this muscle group. This is where proceeding slow and clever programming to ensure strength gains while avoiding overuse injuries come into play. Torn skin is fine and recovers relatively quickly, while passive damage can be a pain in the ass.
The following protocol can help you as a rough outline of the false-grip-journey:
- Introduce this grip with false grip rows. Perform rows in a false gripped position for roughly 3-5 sets of 8-15r. Going hard on the grip is needed as well as accumulating time within it. Overall the rows should place some load on the false grip, but be a lot easier than hanging right away.
- Progress to a more incline position, placing more load onto the wrists.
- The next milestone is the false grip hang. Aim at first for an accumulated hang time of 30-60s per training.
- Over time aim for ~30s per set. Other great ways to get more false grip exposure is adding it a warmup set or finisher to your sessions (1-3 sets of 20-30s)
- When hanging becomes comfortable and falls into the ~30s range, chinups start to make sense. Start with single or doubles and progress onwards to 5r or even 8r in a false grip.
When you can use the false grip for a few more than one or two chinups I say you have plenty of capacity to perform one muscle up. Then the false grip should not be your limiting factor any more, and it rather is the transition itself. After that point you can also randomly use your false grip for all the exercises you perform on rings and make it to your default position, rather than something extraordinary.
Fundamental Movements
Besides the top position and the false grip hang, you should be able to perform all the basics of calisthenics on rings, before attempting dedicated skill work. Remember the stronger these are, the more bent-arm strength you possess, and to a certain degree, the easier the journey will be That said the basics on rings are:
- Ring-Turnout Planks + Pushups
- Chinups + Rows
- False Grip Hang
- Ring-Turnout Support Hold
- Dips
- Hanging Knee Raises
You don’t need to bang out 15 immacule reps of each, just make sure to be comfortable with all of them. There is no sense working on front levers, if your chinups still needs more work, as a chinup is by degrees easier technique-wise than most straight-arm skills.
Build specific Skills and Strength
After you have build a solid foundation and control, you can start working on specific skills. Or you can get even stronger – that will make skills much easier.
There are a lot of skills to perform on the rings and many will be like other skills but much harder. By that I mean that a front lever on the rings is harder than on bars and a planche will be harder on rings than on p-bars*, That’s because of their instability, as it takes resources to solely do that. Great skills on rings are:
- Front Lever
- Back Lever, Backward Roll
- Muscle Up, Front Roll
- Straight Arm Flys, Iron Cross
- Handstand
- L-Sit, Straddle Sit, Presses
- Skin the Cat, Inlocate
- Planche
In the end, it depends on your goals how fast you will progress. But let me give you one piece of advice – dedicate some pre-set time, like 3 months, solely to the rings. This way you’ll get the basics down quickly and will feel safe.
Plus, you will be impressed by how much some skills can improve in just 3 months…
A few final Tips about Gymnastic Rings
- You find the gymnastic rings I use on my equipment list. These two are not the best, but not the worst. I use them regularly for one year now and they do what they should do.
- Chalk up*, mate! Because rings are wooden they will get slippery real quick. And slipping away is never nice (pun intended).
- Once again: Go slow, bro. Rings are new for nearly everyone and nothing to be rushed.
- Have you got what can be considered as a baseline of fitness?
- Learn this cue early on: Control is everything!
The goal is to control every movement you do and if your technique breaks down you stop the set. Don’t push yourself in the beginning. You can do that later on. Rings are not that forgiving as biceps curls may be.
I think you can read out my deep love towards Gymnastic Rings*. Therefore, I hope that I could take you some fear or even motivate you to try them out! That said, do yourself a favor and try them out. The worst-case would be 30$ wasted. And in the best case a badass upper body.
Have fun working out and stay hungry,

Footnotes
- There are many others like also explosive movements adding a kip or roll, complexes chaining movements together like a front roll to top position into a front lever pull with back kipping up into top again. Plus a myriad others.
- Sorry mate, we both are simply too old.
- Meaning not morbidly obese, without acute shoulder injuries or more severe chronic issues, and having mastered the fundamental calisthenics movements.
- Be warned, false grip training sucks. It’s the burpees of the rings.

